
Start
Install amenbo, and hand the request to your AI.
Your part ends here. From here on, keeping the record is the AI's side.
1. Install
App
Installer (.pkg) — Apple silicon Installer (.pkg) — IntelNot sure which Mac you have? Apple menu → About This Mac, and read the Chip line: an Apple M-series chip means Apple silicon, an Intel Core means Intel.
Self-signed — on first launch, right-click → Open (or System Settings → Privacy & Security → Open Anyway).
App
Installer (.exe) — x64 Installer (.exe) — ArmNot sure which PC you have? Settings → System → About, and read the System type line: “ARM-based processor” means Arm, anything else means x64.
Unsigned — if SmartScreen appears, choose More info → Run.
App
App (.AppImage) — x86_64 App (.AppImage) — arm64Not sure which one you need? Run uname -m in a terminal — if it prints aarch64, take arm64.
The AppImage is a self-contained desktop app. No root needed — make it executable and run it.
2. Create a project
The first time you launch it, a short setup runs: language, then your name, then a theme.
After that, choose “Create a project”, give it a name, pick the folder you want managed, and create it.
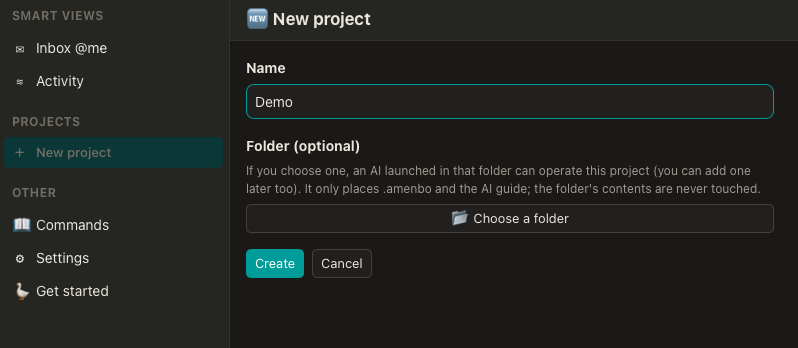
3. Paste the request
Once it is created, a done screen appears. This is where the first tasks get registered.
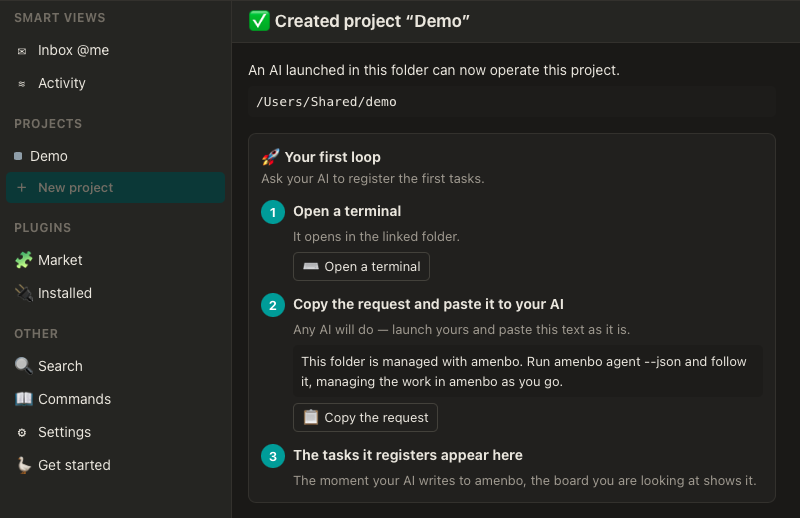
- “Open a terminal” opens one in the folder you linked.
- “Copy the request”, then paste it into your AI as it is. Any AI will do.
- The tasks your AI registers appear on the board you are looking at.
This is what you paste:
This folder is managed with amenbo. Run amenbo agent --json and follow it, managing the work in amenbo as you go.